A properly tuned violin is the foundation of beautiful tone and accurate intonation. Unlike fretted instruments, the violin relies entirely on the player’s ear and precise string tension. Learning how to tune it correctly is one of the first and most important skills every violinist must master.
This detailed guide walks you through standard violin tuning (G-D-A-E), the best tools and methods, the correct order to tune the strings, how to use pegs and fine tuners safely, and practical tips to keep your instrument stable.
Standard Violin Tuning (GDAE)
The four open strings of the violin are tuned in perfect fifths:
| String (Lowest to Highest) | Note | Scientific Pitch | Approximate Frequency |
|---|---|---|---|
| G (thickest) | G3 | 196 Hz | |
| D | D4 | 294 Hz | |
| A | A4 | 440 Hz (reference) | |
| E (thinnest) | E5 | 659 Hz |
A common memory aid is “Good Dogs Always Eat.”
The A string is the universal reference pitch (usually A = 440 Hz). Orchestras traditionally tune to the A given by the oboe or a digital source.
Essential Tools for Tuning a Violin
You can use any of these:
- Free online violin tuners (Tunerium-browser-based, no download)
- Smartphone apps (GuitarTuna, Pano Tuner, Tuner Lite, insTuner, Trala)
- Clip-on chromatic tuner
- Tuning fork (A440)
- Piano or keyboard
- Reference tones from a reliable website
Recommended free online options include Violin Lounge tuner, Tunable violin tuner, ViolinTuner.org, Kennedy Violins online tuner, and Soundbrenner’s free chromatic tuner.
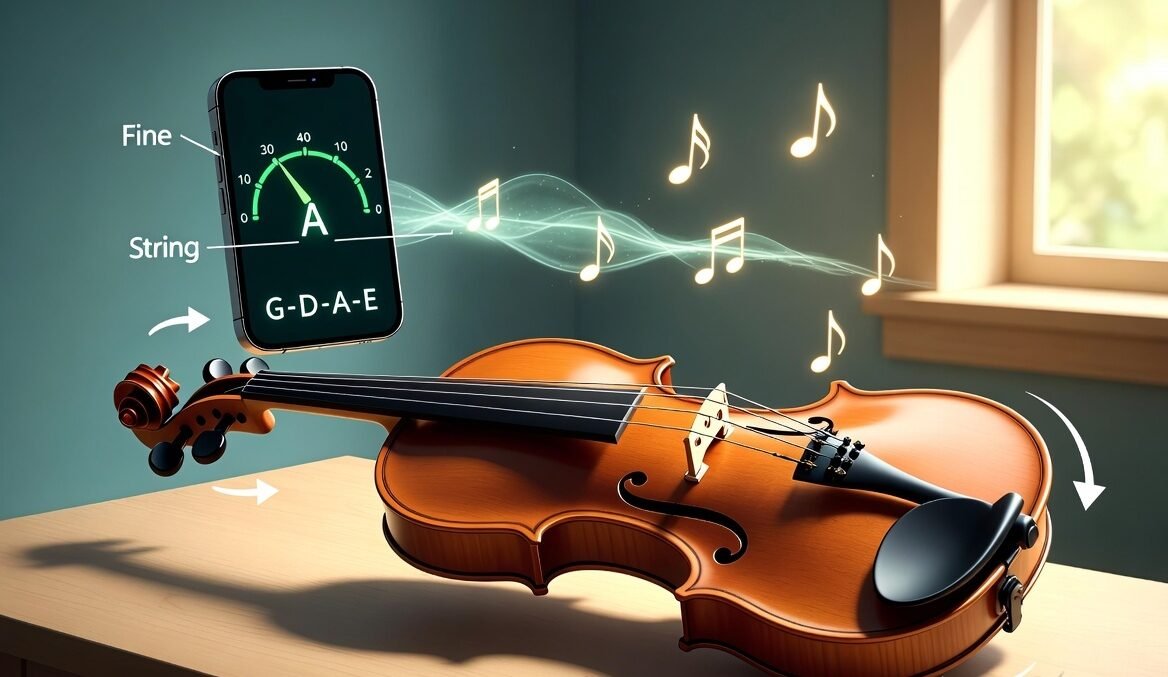
Method 1: Using a Digital Tuner or App (Best for Beginners)
- Find a quiet room.
- Open your preferred tuner or app and set it to chromatic mode or violin mode (A = 440 Hz).
- Allow microphone access if using a phone or online tool.
- Start with the A string.
Tuning order for best stability: A → D → G → E
How to Adjust Pitch
- Fine tuners (the small screws on the tailpiece): Use these for small adjustments. Clockwise usually raises the pitch; counterclockwise lowers it. Most student violins have fine tuners on all four strings.
- Pegs (in the pegbox under the scroll): Use only when the string is significantly out of tune. Always push the peg gently inward toward the pegbox while turning so it grips and does not slip.
Step-by-step:
- Pluck or bow the A string clearly.
- Watch the tuner.
- Flat (too low) → tighten slowly.
- Sharp (too high) → loosen slightly below the target, then come back up.
- Once A is perfect, tune the D string the same way.
- Next tune the G string.
- Finish with the E string (the E is the most delicate — use the fine tuner almost exclusively).
- Recheck all strings, especially A, because changing tension on one string slightly affects the others.
Always aim to tune up to the note. This helps the string and peg settle more securely.
Method 2: Tuning by Perfect Fifths (Ear Training Method)
Once the A string is accurate:
- Bow or pluck A and D together. Adjust D until the interval sounds pure (no wavering beats).
- Do the same with D and G.
- Finally match E to A.
This method develops your ear and is preferred by advanced players and professionals.
Method 3: Using a Tuning Fork or Piano
Strike an A440 tuning fork and match your A string by ear. Then proceed by fifths or with a tuner for the remaining strings. On a piano, play the corresponding notes (G below middle C, D above, A above, and high E).
Important Safety Tips
- Never force a peg. If it slips, push it in while turning. Peg compound (or a tiny bit of chalk) can help if pegs are chronically slippery — ask a luthier for advice.
- The E string is under the highest tension and breaks most easily. Make very small adjustments.
- New strings stretch a lot. Expect to retune frequently for the first few days. Gently stretch them after installation.
- Temperature and humidity changes affect tuning dramatically. Always check before practice or performance.
- If a string is more than a whole tone flat, loosen it first, then bring it up carefully to avoid sudden high tension.
Common Beginner Mistakes and How to Avoid Them
| Mistake | Why It Happens | Solution |
|---|---|---|
| Over-tightening pegs | Fear of the string going flat | Small movements + push inward |
| Ignoring fine tuners | Not knowing they exist | Use fine tuners for final precision |
| Tuning in the wrong order | Starting with G or E | Always begin with A |
| Not rechecking after tuning | Tension redistributes | Always double-check all four strings |
| Using too much force on E | E string is thin and high-tension | Prefer fine tuner; tiny turns only |
Quick Daily Tuning Routine
- Quiet space + tuner ready.
- Tune A to 440 Hz.
- Tune D, G, then E.
- Play open strings and simple double-stops to confirm.
- Make final micro-adjustments with fine tuners.
Final Thoughts
Tuning a violin becomes quick and natural with practice. Beginners should rely on a reliable digital or online tuner until their ear develops. Advanced players combine visual feedback with listening for pure fifths.
Check your tuning every time you pick up the instrument — even professionals do. A well-tuned violin responds better, sounds richer, and makes practicing far more rewarding.
Take your time, use small adjustments, and never force the pegs. With consistency, you’ll develop both technical skill and a more sensitive musical ear.
Now open a tuner, start with the A string, and get ready to play. Happy practicing!