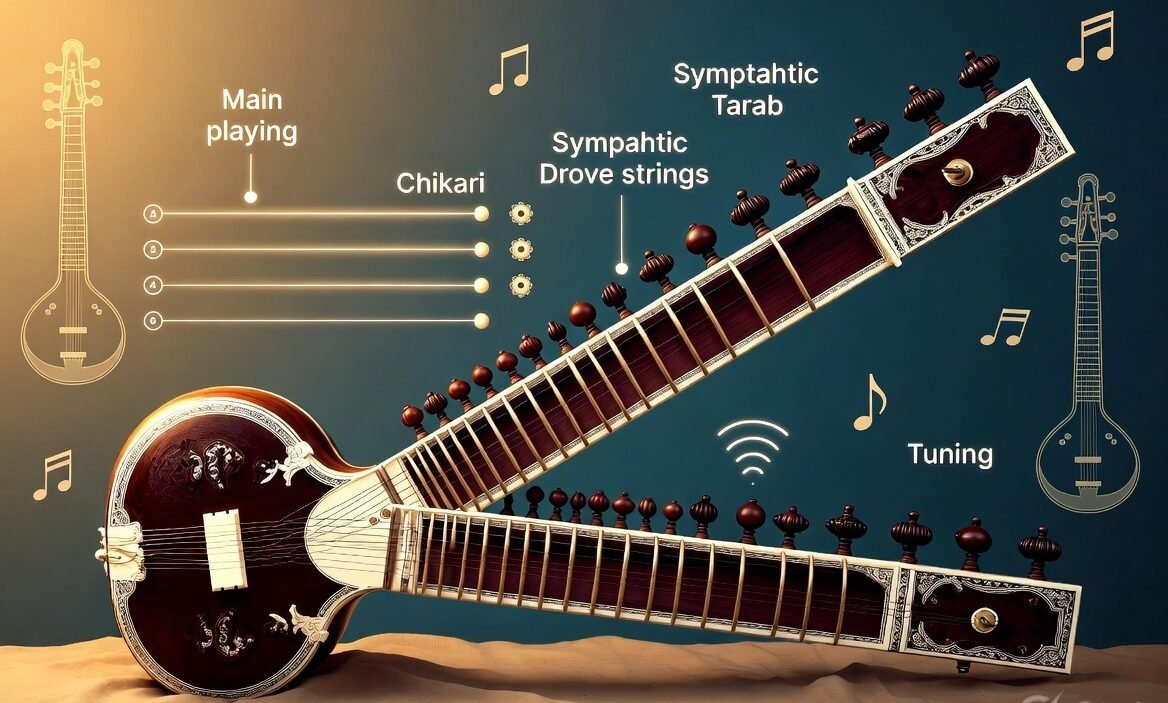
Tuning a sitar is more involved than tuning a guitar or violin because the instrument has multiple layers of strings: the main playing strings, the chikari (drone) strings, and the sympathetic (tarab) strings. A well-tuned sitar produces the rich, resonant, shimmering sound that defines Indian classical music.
This guide explains the basic structure of sitar strings, standard tunings, and a practical step-by-step process suitable for beginners.
Understanding Sitar Strings
A typical sitar has:
- Main playing strings (usually 6 or 7) – These are the fretted strings used to play the melody.
- Chikari strings – Thin drone strings played with the little finger or side of the hand for rhythmic accents.
- Sympathetic (Tarab) strings – 11 to 13 thin strings that run under the frets. They are not plucked directly; they vibrate in resonance with the main strings, creating the characteristic ringing sustain.
There are two common styles:
- Kharaj-Pancham (Ravi Shankar style) – Usually 7 main strings, including lower bass strings.
- Gandhar-Pancham (Vilayat Khan / Shahid Parvez style) – Often 6 main strings.
Choosing Your Pitch (Sa)
In Indian classical music the tonic is called Sa. Most sitars are tuned with Sa around C, C♯, or D.
- C or C♯ is common for many players.
- D often gives slightly higher string tension and a brighter sound.
Use a digital tuner, piano, tanpura app, or online drone for a reference pitch.
Standard Main String Tuning (Kharaj-Pancham / Ravi Shankar Style)
Here is a widely used tuning with Sa = C (adjust everything up or down if you choose a different Sa):
| String Position (from player’s perspective) | Indian Name | Western Note (Sa = C) | Role |
|---|---|---|---|
| 1st (closest to floor / main playing) | Ma (Baj) | F | Main melody string |
| 2nd | Sa (Joda) | C (lower) | Drone / reference |
| 3rd | Pa | G | Fifth |
| 4th | Sa (Kharaj) | C (lowest) | Deep bass |
| 5th | Pa (Chikari) | G (higher) | Chikari drone |
| 6th | Sa (Chikari) | C (middle) | Chikari |
| 7th | Sa (High) | C (high) | High chikari |
Note: Exact string order and names can vary slightly depending on the maker and tradition. Always identify which string is which on your particular instrument.
Step-by-Step Tuning Process
1. Prepare Your Tools
- Digital chromatic tuner or smartphone app (Cleartune, GuitarTuna, or a dedicated tanpura/drone app)
- Reference pitch (tanpura app is ideal because it provides the full harmonic texture)
- Quiet room
2. Tune the Main Playing Strings First
Start with the lowest/thickest strings and work upward.
- Tune the Joda / Sa string (usually the thick bronze string) to your chosen Sa (e.g., C or D).
- Tune the main Baj (Ma) string. Many players tune this to the fourth below Sa or match it so that the 7th fret produces Sa.
- Continue with the remaining main strings according to the chart above.
- Use the large wooden pegs for big adjustments. Push the peg gently inward while turning so it grips properly.
- Use the small fine-tuning beads (if present) for precise adjustments.
Tip: Always try to tune up to the pitch rather than down when possible. This helps the string settle better.
3. Tune the Chikari Strings
These are the thin drone strings. Tune them to Sa and Pa (or the notes appropriate for your raga) so they ring clearly when struck with the side of the hand or little finger.
4. Tune the Sympathetic (Tarab) Strings
This is the most time-consuming part and is usually adjusted according to the raga you will play.
A basic “Bilaval” or major-scale style tuning for the tarab strings (starting from the highest or according to your instrument’s layout) often follows the notes of the scale, for example:
Sa – Ni – Sa – Re – Ga – Ma – Pa – Dha – Ni – Sa – Re – Ga (adjusted for the number of strings)
Method:
- Pluck a main string and listen for resonance in the tarab strings.
- Adjust each tarab string until it vibrates sympathetically when the corresponding note is played on the main string.
- Many players tune the tarab strings slightly below the target and then bring them up slowly for better accuracy.
5. Final Check
- Play open main strings and listen for overall resonance.
- Play simple phrases and check that the tarab strings ring clearly.
- Retune any strings that have slipped (new strings especially will stretch).
Important Tips for Successful Tuning
- New strings stretch a lot — expect to retune frequently for the first few days.
- Temperature and humidity strongly affect sitar tuning. Always check before practice or performance.
- The frets on a sitar are movable. After major string changes you may need to adjust fret positions for correct intonation (especially the Sa and Ma frets).
- Use a tanpura or drone app rather than a pure electronic tone when possible — the rich harmonics help your ear lock in better.
- Be patient. Proper sitar tuning can take 15–30 minutes (or longer when changing ragas).
Common Challenges and Solutions
| Problem | Solution |
|---|---|
| Pegs keep slipping | Push firmly inward while turning; use peg compound if needed |
| Sympathetic strings hard to hear | Tune in a quiet room; pluck main string firmly and listen for resonance |
| Strings break easily | Avoid over-tightening; raise pitch gradually |
| Instrument sounds dull | Check bridge placement and tarab tuning |
Final Thoughts
Tuning a sitar is both a technical skill and an art. The more carefully you tune the main strings, chikari, and especially the sympathetic strings, the more alive and resonant the instrument becomes. Over time your ear will develop and the process will become faster and more intuitive.
Start with a simple Bilaval/major-type tuning in C or D, use a good reference drone, and work methodically from the main strings outward. Once the instrument is properly in tune, the unique voice of the sitar will shine.
Take your time, listen deeply, and enjoy the process — a well-tuned sitar is one of the most beautiful sounds in music.